There are a few ways to go about turning a raster image into a vector using the Adobe software suite.
One of the methods allow you to create a vectorized image without leaving Adobe Photoshop at all, while the other is probably simpler and quicker and allows you to use the Adobe software designed to deal with vectors - Adobe Illustrator.
In this article you will learn:
- 1. What is the difference between raster/bitmap, smart object, and vector
- 2. How to prepare an image using Adobe Photoshop
- 3. How to improve low-res black and white image to make it more usable for vectorization
- 4. How to create vectors in Photoshop
- 5. How to vectorize an image in Adobe Illustrator
Raster vs Vector vs Smart Object
A raster image or a bitmap is a digital image completely made out of a specific number of pixels.
It holds only a certain amount of information, which is why if we try to scale it up and make the image cover more pixels, the imaging program will randomly extrapolate and generate new pixel information. The results of this are never 100% accurate and usually not that good.
If you scale a raster image down, it will remove certain amounts of pixels from the picture. If you scale it back up again, the image will be even worse, because it will be scaling up from a smaller image, with fewer data to extrapolate from.
A vector is an image created by a mathematical formula. The formula does not change regardless of the size of the image, which means that it stays exactly the same and looks exactly the same.
Smart Objects are a fairly new development. They are made out of pixels, but unlike regular raster images, they keep the pixel information. Which means that if the image size is reduced and then scaled up again, the smart object has the original pixel data and does not have to extrapolate.
For this tutorial, you will need some nice colored and black and white images to practice one.
Preparing the Image
Before doing anything else, we need to make sure that the bitmap image that we are using is the best possible version of itself.
It is better to have higher-res images from the get-go. Hi-res images have more information stored in them and you will be able to create more detailed vectors.
However, if an image does not have many colors (ideally, no more than two), there are steps to take to slightly increase the image resolution.
Resize the image
Open the image then go to Image > Image Size (Alt+Ctrl+I)
As a general rule, the raster image you are working on should be 300dpi and it's shorter side should be between 2000-3000px.
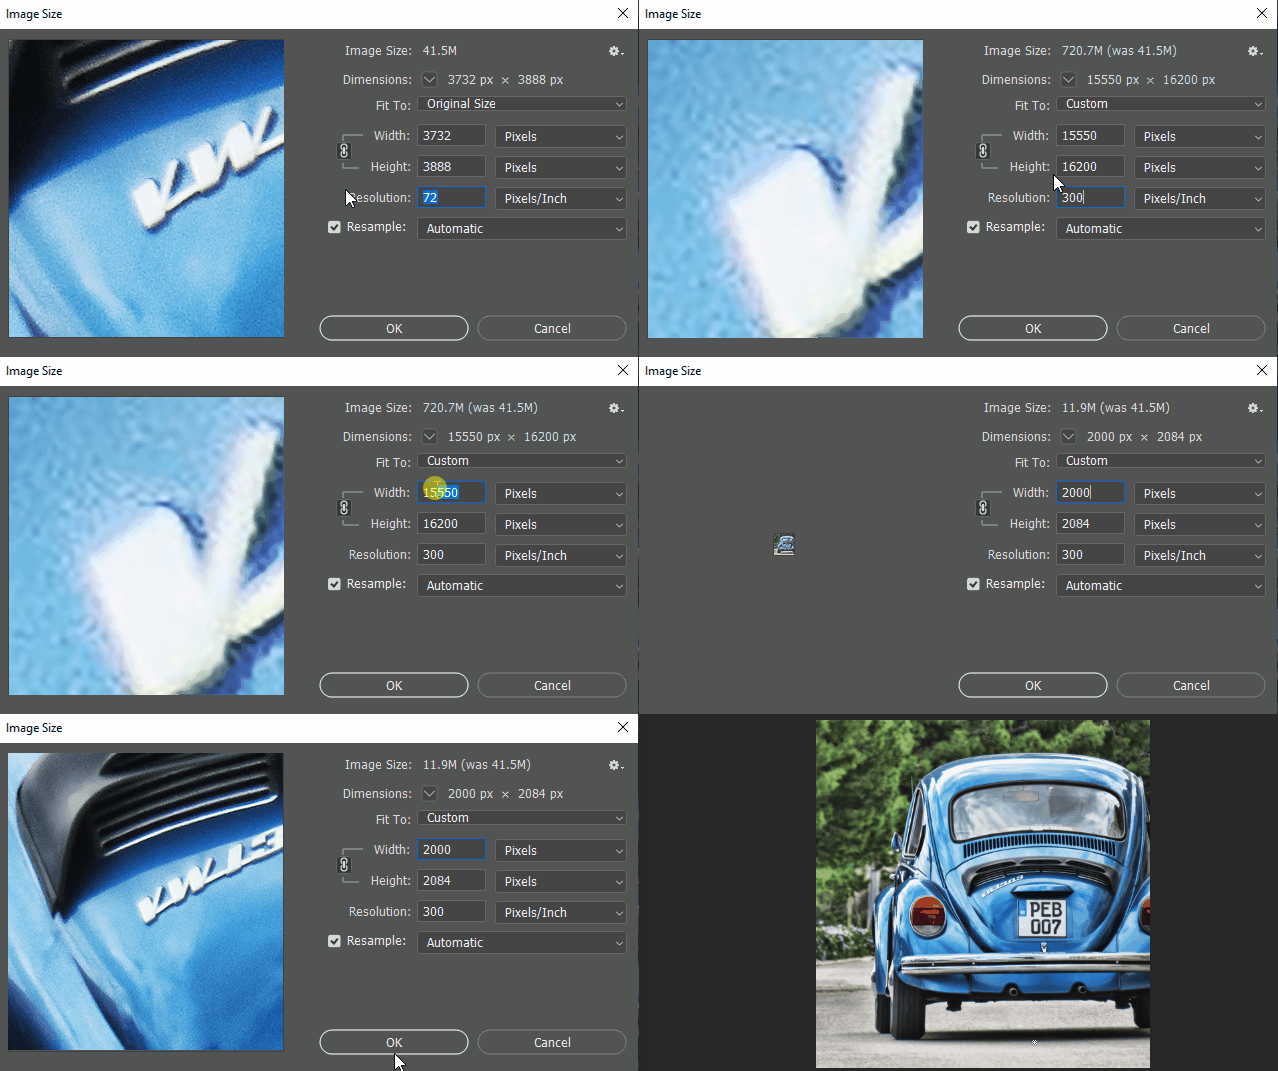
If your image is much bigger than that, it might be a good idea to scale it down so as not to unnecessarily burden your computer resources.
Isolate the object from the background
- 1. Double-click the Background layer and then click OK to convert it into a regular layer - Layer 0
- 2. Create a new all-white Background layer. Click New on the Layer Palette, then in the menu bar go to Layer> New> Background Layer. Make sure that the white color is selected as the background color.
- 3. Select Layer 0 and then make a selection of the area around the object you want to vectorize.
- 3.1 There are a few ways to do this. If you want to be more precise, you should zoom the image in and use the Pen Tool (P) or you could just use one of the selection tools, such as the Magic Wand (W) or Lasso Tools (L).
- 3.2 In my case, I will be using the combination of Quick Selection Tool and Polygonal Lasso Tool.
- 3.3 Note: Before starting you can duplicate the layer and hide the original so that you have something to compare to or something to get back to if you mess up.
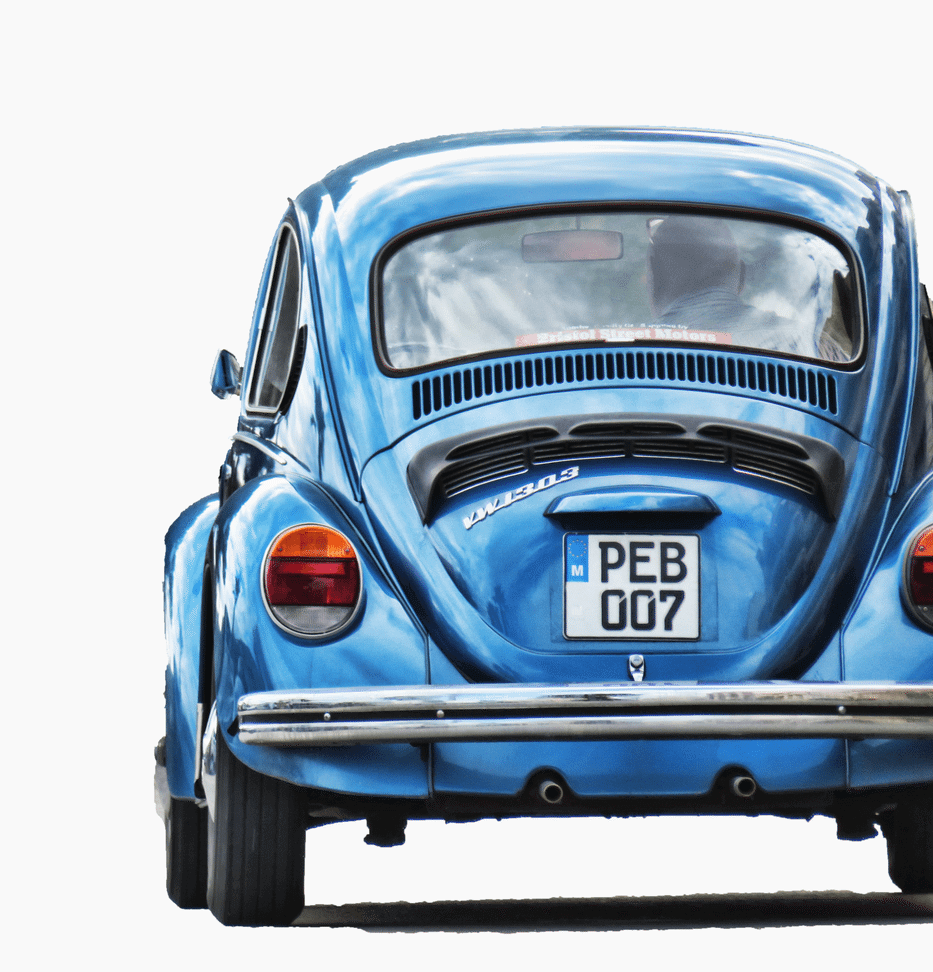
- 4. Copy the object you're left with to a new layer and hide/delete the original. This is what you should get:
Isolate different color layers
- 1. Make the lines smoother and color transitions more defined
- 1.1 For this, you can use either the Oil Paint Effect or the Diffuse Effect. I will be using the Oil Paint effect: Filters > Stylize > Oil Paint…
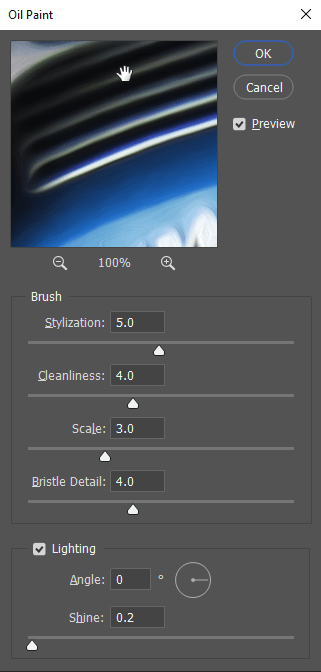
- 1.2 If you don't have Oil Paint effect in your version of Adobe Photoshop, you can use the Diffuse Filter: Filter > Stylize > Diffuse. To get a similar effect as the Oil Paint, you need to apply the Defuse several times at several image angles. After applying the effect the first time, rotate the image by 90° (Image > Image Rotation > 90° Clockwise) and then apply the Defuse filter again. Do two full rotations.
- 1.1 For this, you can use either the Oil Paint Effect or the Diffuse Effect. I will be using the Oil Paint effect: Filters > Stylize > Oil Paint…
- 2. Prepare different color layers for your image
- 2. Go to Image > Adjustments > Desaturate (Shift+Ctrl+U)
- 2.3 Create two adjustment layers: Levels and Posterize.
- 2.3 In the panels for both, check the Mask it option to only affect the desaturated layer.
- 2.4 Using the Posterize properties, you can select the number of colors that you want to use on your final vector image. For the purpose of this tutorial, I am going to set the number of colors to 4.
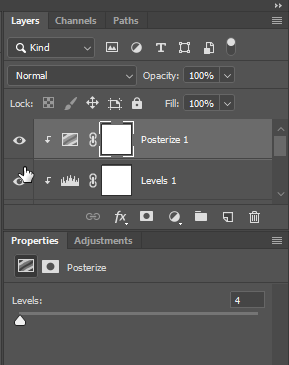
- 2.5 Double-click the Levels layer and move the sliders to adjust the color distribution on your image. Play around with it. See what suits you best. You can see below my settings and my image.
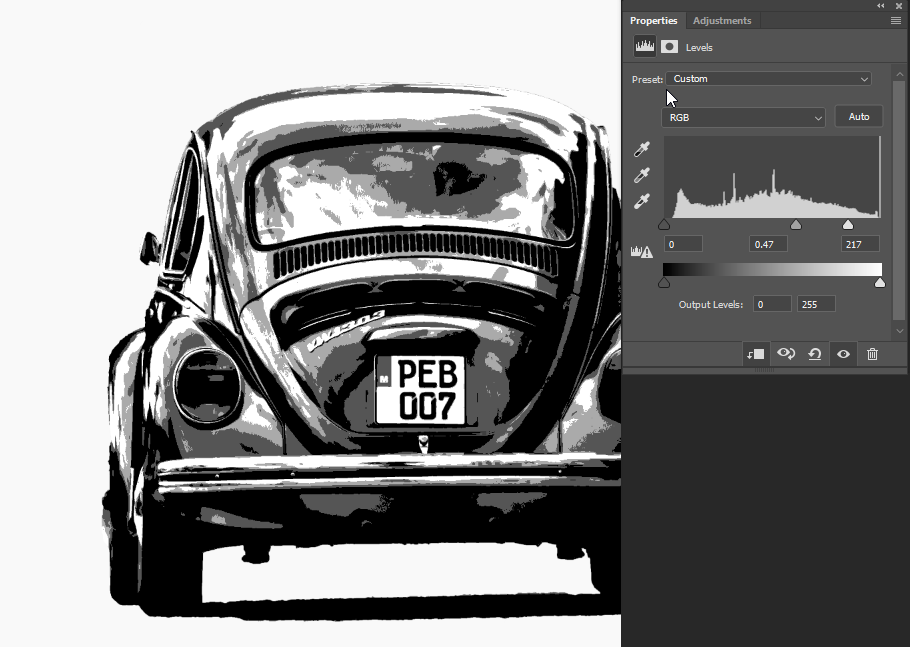
- 3. Select all three layers (two adjustment layers and the desaturated layer) and merge them together.
- 4. As the final step, apply the Oil Paint or the Diffuse Effect once more. Adjust until you get smoother more painting-looking color lines.
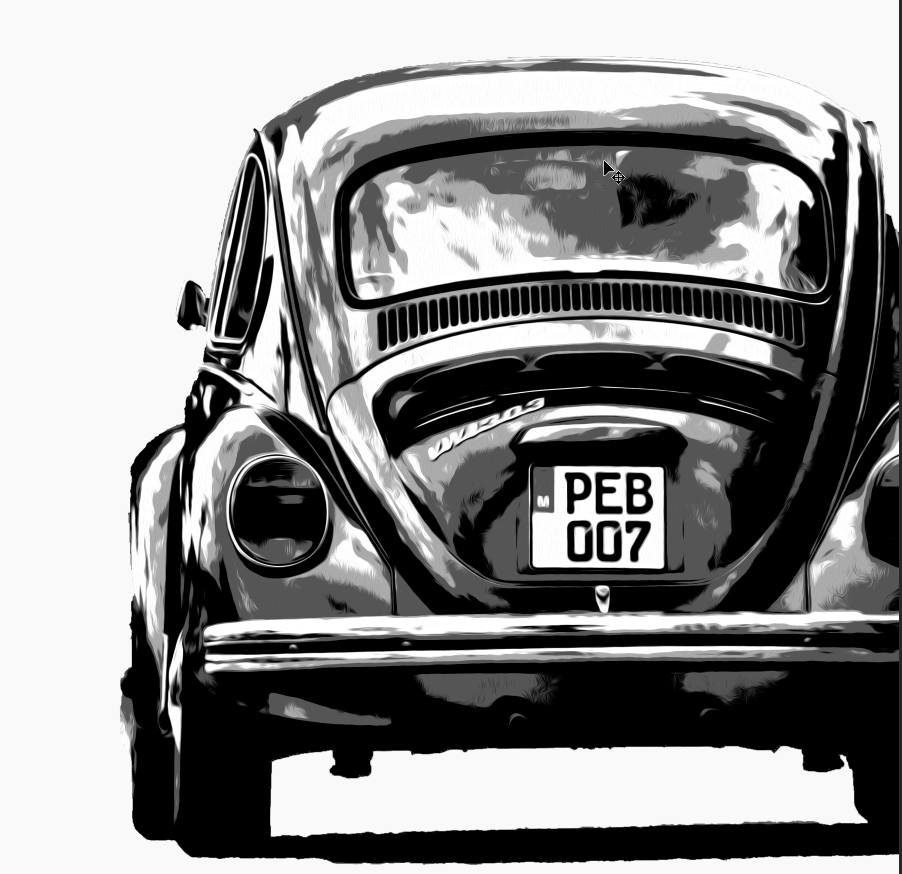
- 5. Optional: Rename the layer to Base, by double-clicking its name in the Layer Panel.
Bonus: Improve bitmap resolution
This only applies to low-res, two-color images, without too many small details.
Note: With this technique, there will be some loss of detail in the image.
- 1. Remove any color from the image using either Grayscale (Image > Mode > Grayscale) or Desaturate (Image > Adjustment > Desaturate)
- 2. Add Levels Adjustment Layer and play around with sliders until there are only black and white colors. Then merge layers.
- 3. Use Pencil tool (B) and foreground color white to clean the image and remove any black pixels that you don't want in your final vector image
- 4. Go to layers options in the top right of the layer panel and flatten the image
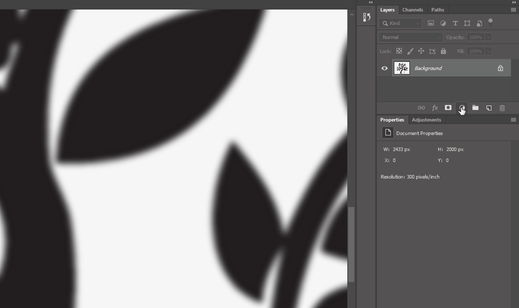
- 5. Blur the image to make the edges smoother. Play around with the slider until the edges become seamless. Filter > Blur > Gaussian Blur
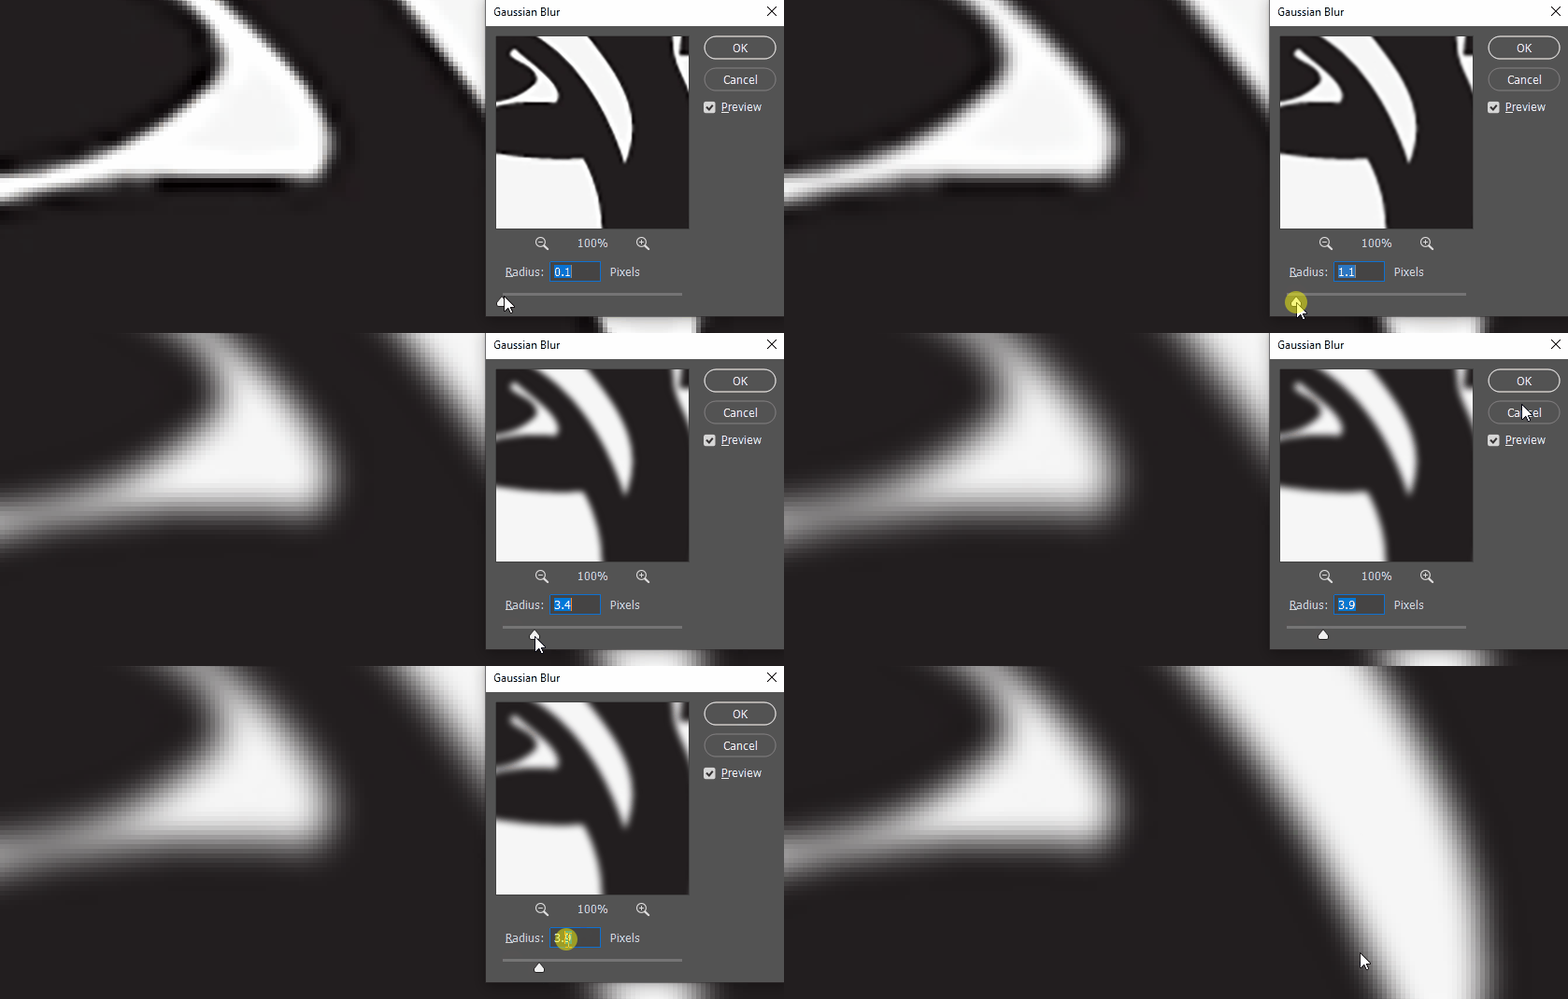
- 6. Next, we need to increase the contrast and turn most of the gray pixels into white or black. There are different ways to do this. One of them is by using the Curves Adjustment Layer.
Vectorizing the Raster Image in Photoshop
This part of the process is easy if a little bit repetitive. But the results are quite amazing.
- 1. Double-click the Base layer and check the Blend If options. By moving the slider, you will be able to isolate the four colors we defined earlier. Start by isolating the White.
- 2. Click Ctrl+J to duplicate the base layer.
- 3. Right-click the duplicated layer and choose Convert to smart object.
- 4. Load selection of the new layer by holding Ctrl and clicking the layer.
- 5. Click on any selection tool. Then right-click inside the selection and choose Make work path.
- 6. Set the tolerance to 1.5. This is now a path.
- 7. Create a Solid Color layer to fill the path. We have our first vector layer.
- 8. Change the color to white. Delete the duplicated layer.
- 9. Optional: Rename the first vector layer to Highlights.
- 10. Hide the Highlights layer.
- 11. Double click the Base layer and adjust the slider until you see the Gray.
- 12. Repeat steps 2 - 8.
- 13. Optional: Rename the second vector layer to Midtones 1.
- 14. Repeat everything two more times until you have all four vector layers isolated: Highlights, Midtones 1, Midtones 2, Shadows.
- 15. Delete the Base layer.
- 16. Optional: Move the 4 vector layers into a new layers group - Vectors.
Coloring the vectorized image in Photoshop
You can leave your image as is or you can add some color to it.
- 1. Start by adding colors to the vector layers you’ve just created.
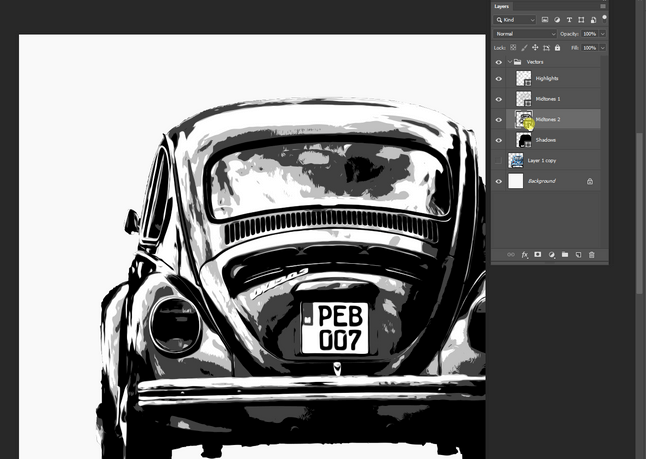
- 2. Clicking the color icon on each of the layers will open the color picker for that specific layer. All you need to do is select the color you want and it will be changed for the whole color layer.
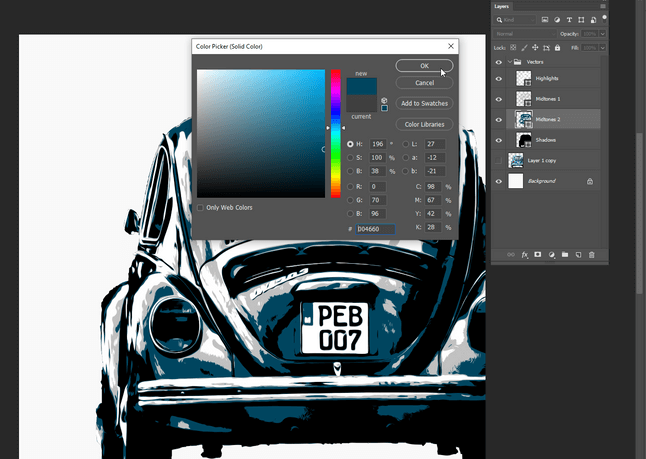
- 3. Next, you need to start coloring details.
- 3.1 Add a new layer above the Midtones 2 layer.
- 3.2 Right-click and turn into a clipping mask. It will make sure that the new color is only limited to that one layer.
- 3.3 Use brush-tool to color over the details that you want to change.
- 4. Repeat the same for the Midtones 1 layer.
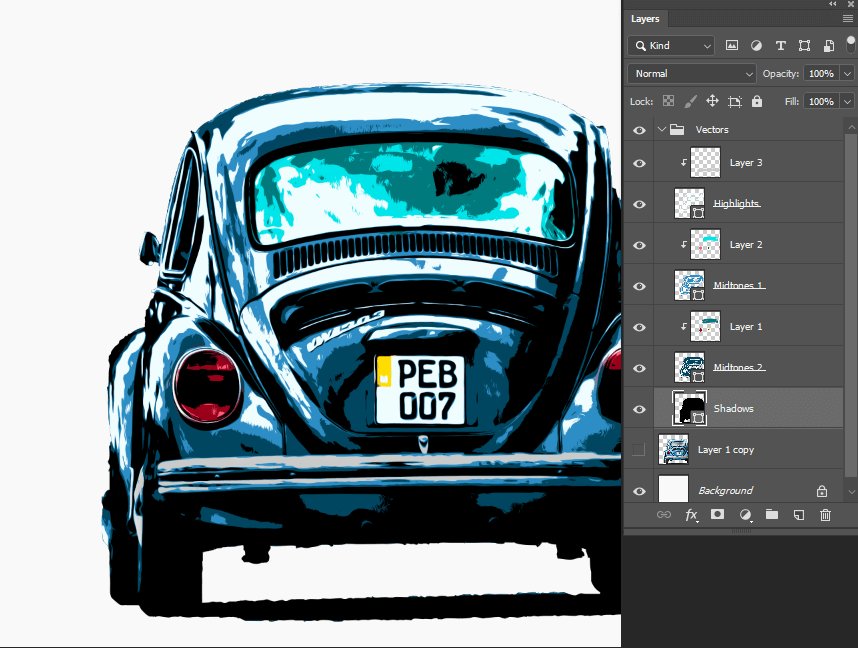
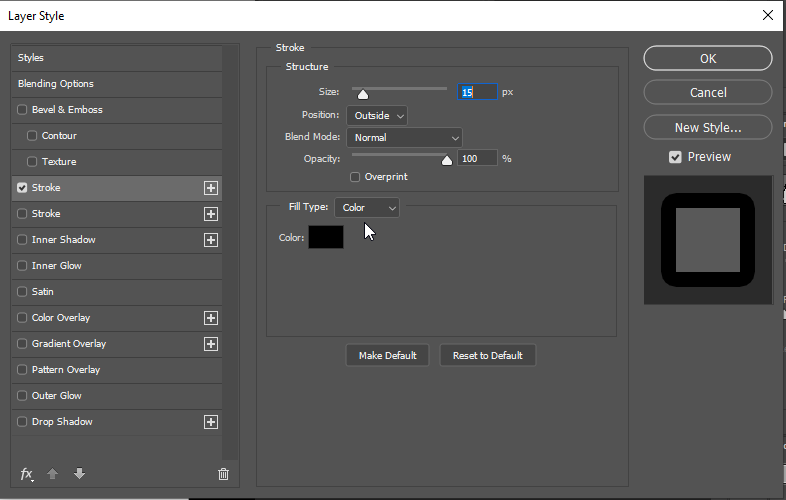
- 5. Finally: Add stroke to the Shadows layer. Access the options by double-clicking the layer.
And we’re done! Congrats, traveler, you’ve just created a fully vectorized image using nothing but Photoshop.
But let’s see how else we can do it with just a little bit of help from the mighty Illustrator.
Vectorizing a simple raster image in Illustrator
Let’s go back to that simple black and white image we’re prepared earlier. We’re going to use that to explain vectorization in Illustrator.
- 1. Open a new Illustrator doc.
- 2. Place the image we’ve prepared. File > Place > select image or use shortcut (Ctrl+Shift+P)
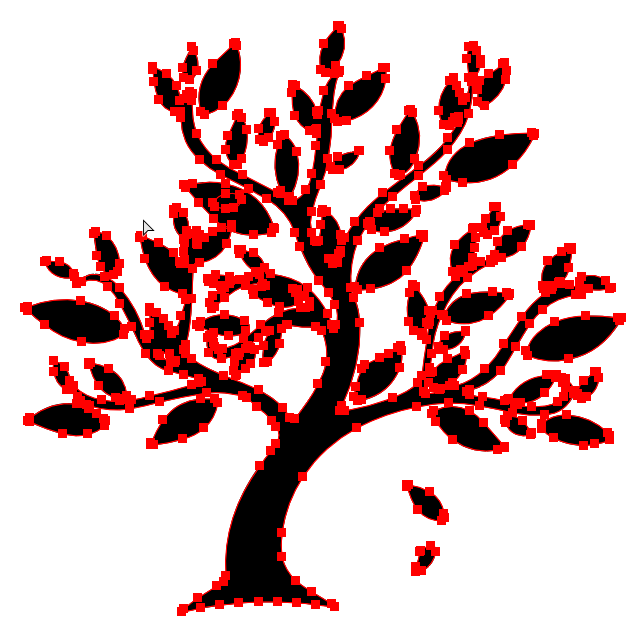
- 3. Object > Image Trace > Make and Expand - this will create a vector objects group
- 4. Double-click the object to enter the group
- 5. Here you will be able to remove the (white) background object, change color of the whole group or individual objects within, and do everything that you can do with a vector in Adobe Illustrator.
- 6. Once you’re satisfied you can save it in the any of vector image formats available in Illustrator, such as .AI, .EPS, .SVG, .PDF, and never have to worry about the blurriness of the picture ever again.
Vectorizing a more detailed raster image in Illustrator
If your black and white bitmap image is more complicated than the one shown above or it has more colors, there is another way to go about vectorizing them.
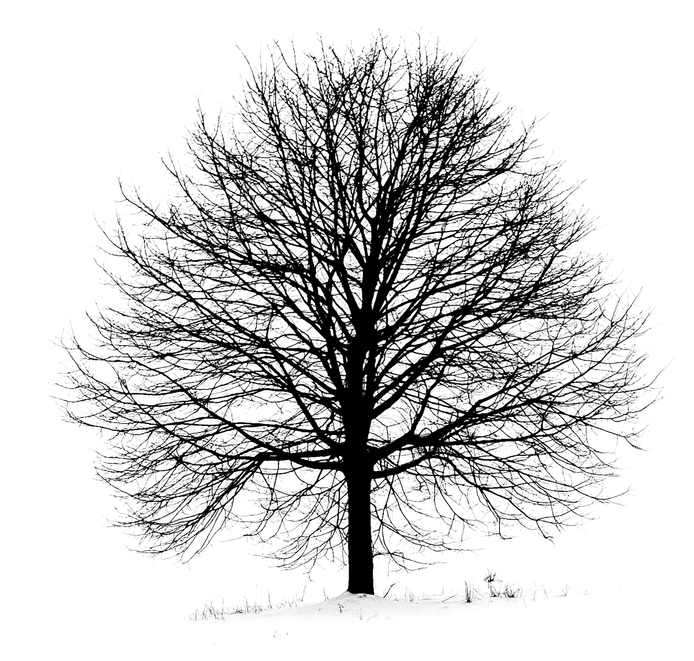
- 1. Place the image you want to vectorize into a new Illustrator document
- 2. Select it with the Selection Tool (V)
- 3. In the top bar, look for the Image Trace button and click on it.

- 4. Open the Trace Panel

- 5. Play around with the settings until you are satisfied with the amount of details in your image. Also, make sure to set up number of colors to what you are working with:
- 5.1 If the image is just lines, set it to Black and White
- 5.2 If it has colors, set it to the number of colors that are in your image. Be sure to use an image with flat colors, because any gradient or too many colors will make this task impossible.
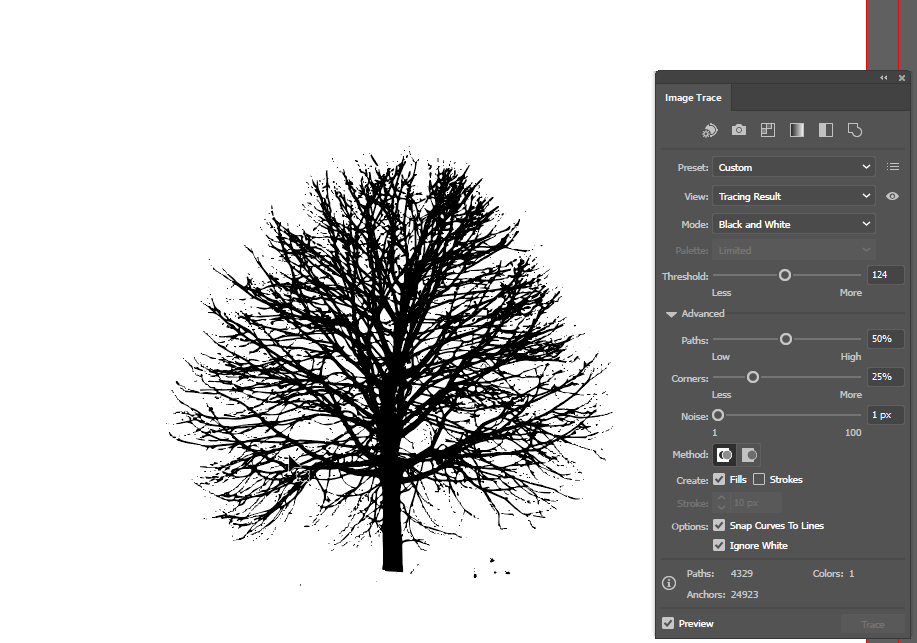
- 6. Once you’re satisfied with the results, click the Expand button to create a vector object.
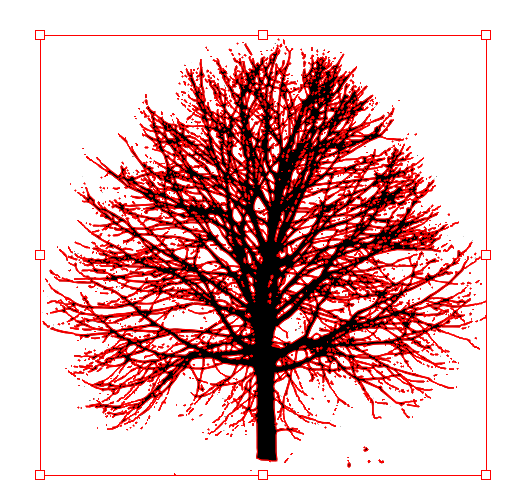
As you’ve seen, there are quite a few options available to you. Some simpler than others, some more detailed, some more fun.
All that is left for you to do is get some of your art, free stock photos or your photos and get practicing.