Today we have a free Twitch panel download AND a tutorial for you...
Free Twitch Panels
Just want the free Twitch panels? Here you go! Scroll down to learn how to make the panels yourself and for more info on Twitch.
The freebie includes 4 PSD's and 72 transparent PNG files, with 4 color variations:
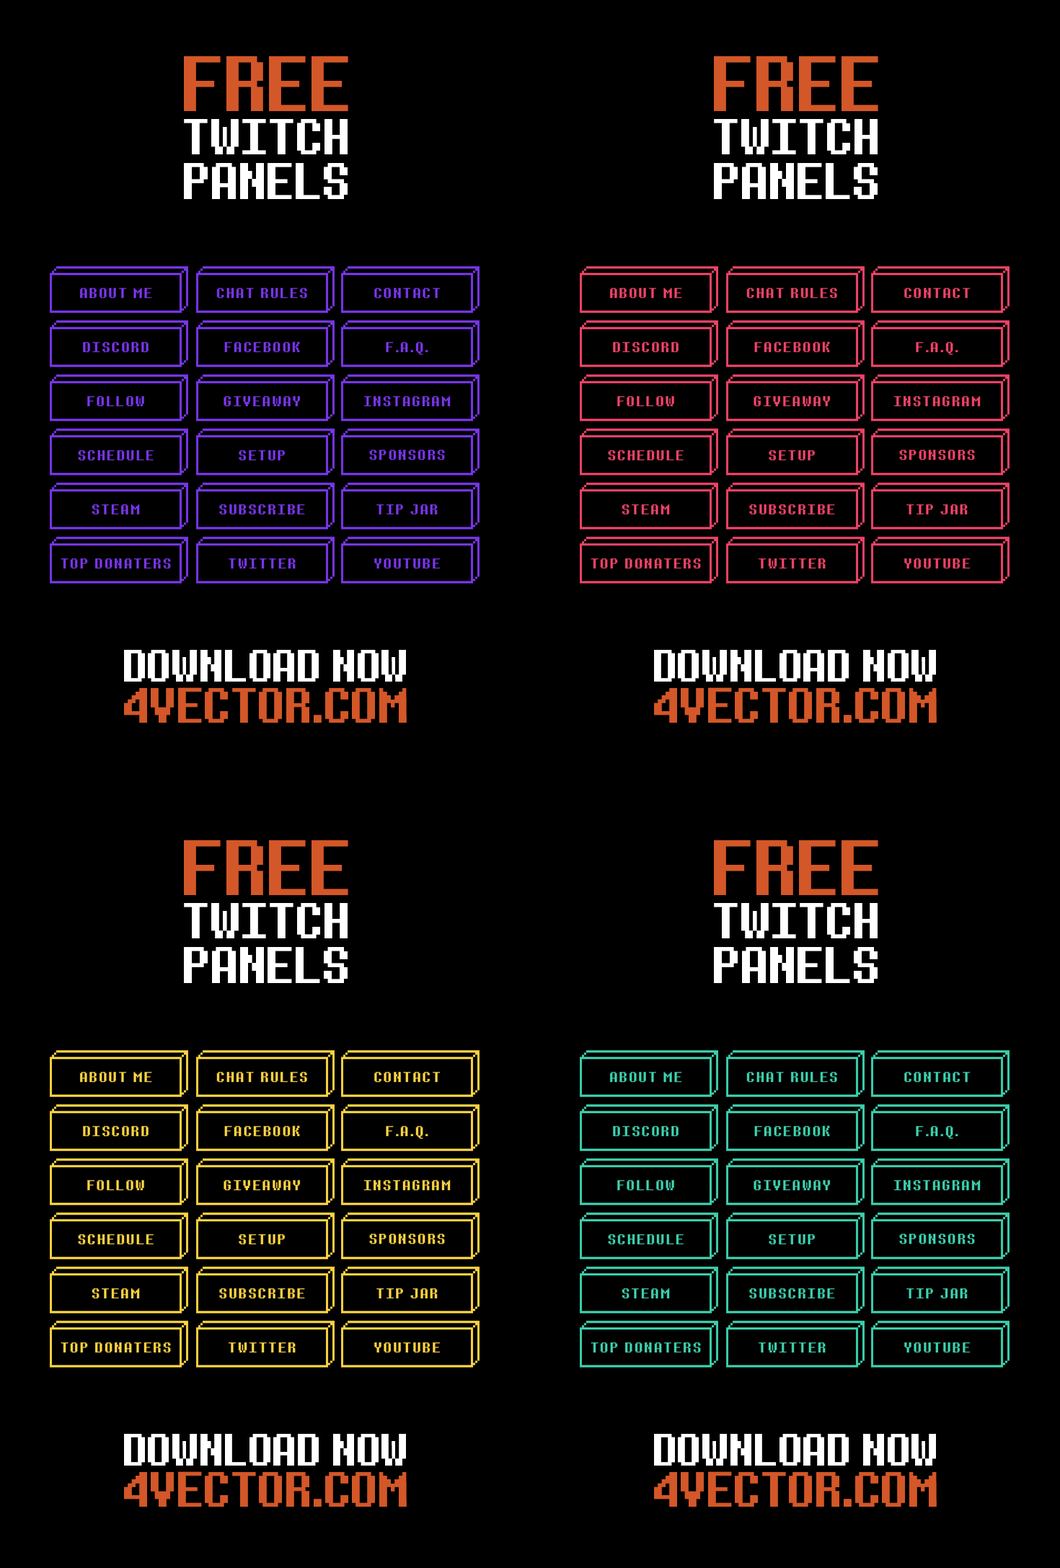
Free Twitch Panels PSD Download
What is Twitch?
For those of you who don’t know, Twitch is the “Facebook for gamers" - a social network for gaming fanatics to share their gameplay and commentary. It has also become a marketing channel for video game publishers and developers to share news related with their upcoming release.
Esports, short for gaming sports, have also utilise Twitch as a means to live broadcast games competition to the whole world. Not a fan for games? There are also categories for Creative, IRL, Programmatic TV, Anime, Fitness, Wrestling, and even Social Eating!
If you are still using the default panels for your Twitch, know this - Twitch allows you to personalize your own Info Panels to entice users to subscribe to your page.
How to Make Twitch Panels in Photoshop?
This tutorial will show you how to make your very own 3D pixel-style Twitch panels in Photoshop. Before you start, note that the latest twitch panels size in 2017 is maximum 320 x 300 pixels (width x height). If your banners exceed these sizes, they will be automatically resized to the maximums mentioned.
What You Need:
- Adobe Photoshop CS or CC - we are using Adobe Photoshop CC 2017 for this guide
- This Free Determination Sans Font - download and install it before you proceed
- A lot of rectangles... and some squares
- A cup of coffee or tea (optional)
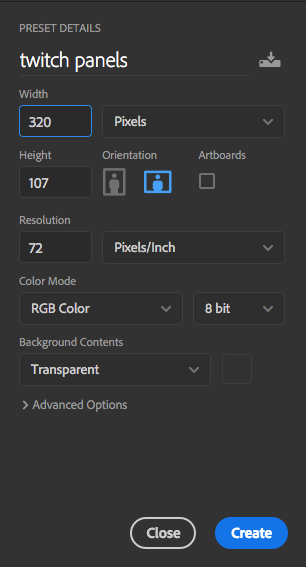
1. Fire up Photoshop and create a new document with the 320 and 107 pixels for the width and height respectively.
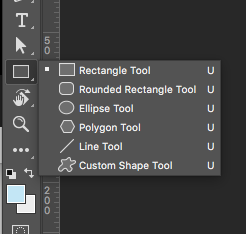
2. Select the rectangle tool, click on the canvas, and create a rectangle with the width and height 305 x 92 pixels respectively. Align it to the bottom left of the canvas. This would be the “front” of the box.
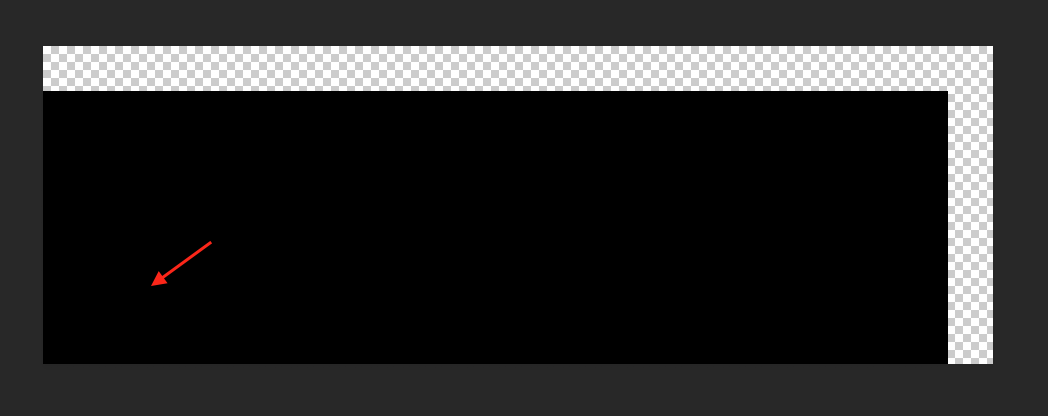
3. Make another rectangle sized 305 x 5 pixels. Use the Move tool (V) and arrange the rectangle 5 pixels to the right and 5 pixels to the top of the front box, as shown. I have used a different fill color here so that you could see what I mean.
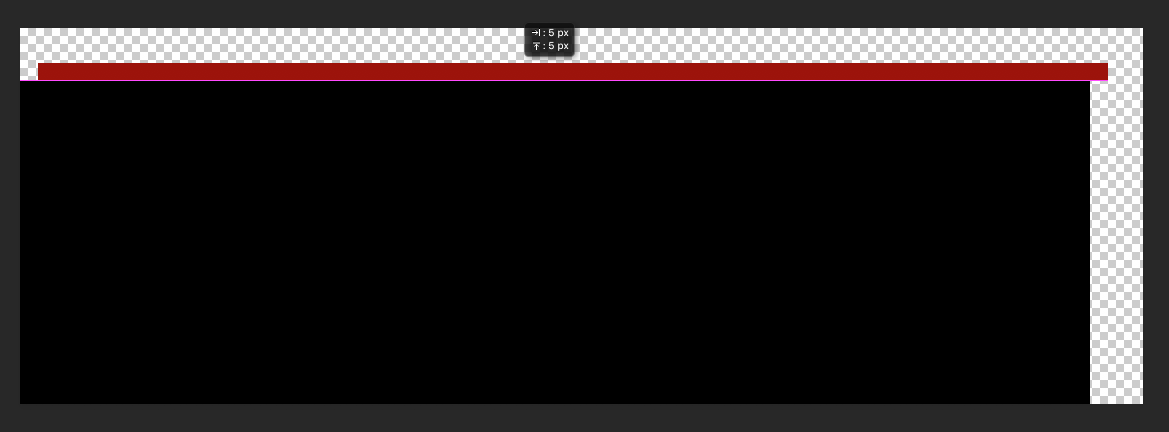
4. Duplicate the rectangle and repeat step 3, except that now it would be above and to the right of the rectangle you made earlier. 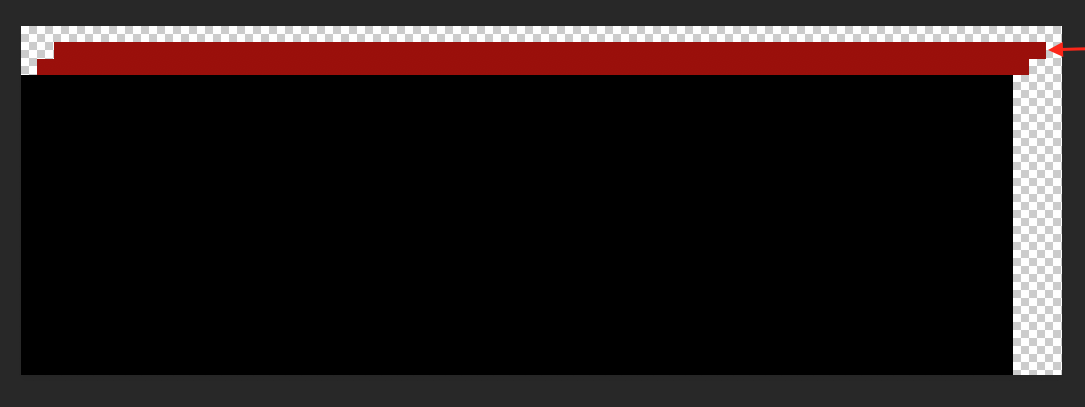
5. Repeat again until the rectangle reaches the top edge of the canvas. Now change the rectangle fill color to white. This would serve as one of the borders for the box. 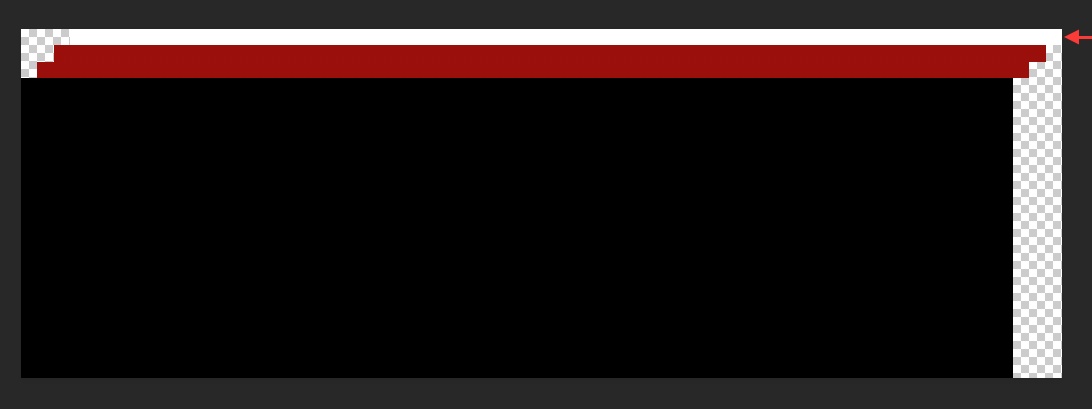
6. Next, our 3D pixel-style panel should not be missing its side face. Create a rectangle with the size 5 x 92 pixels. Move it 5 pixels to the right and 5 pixels to the top of the “front” box (Note: it’s okay if your new rectangles overlapped with those from step 5, we would merge these shapes later on anyway). Different color is used for your reference. 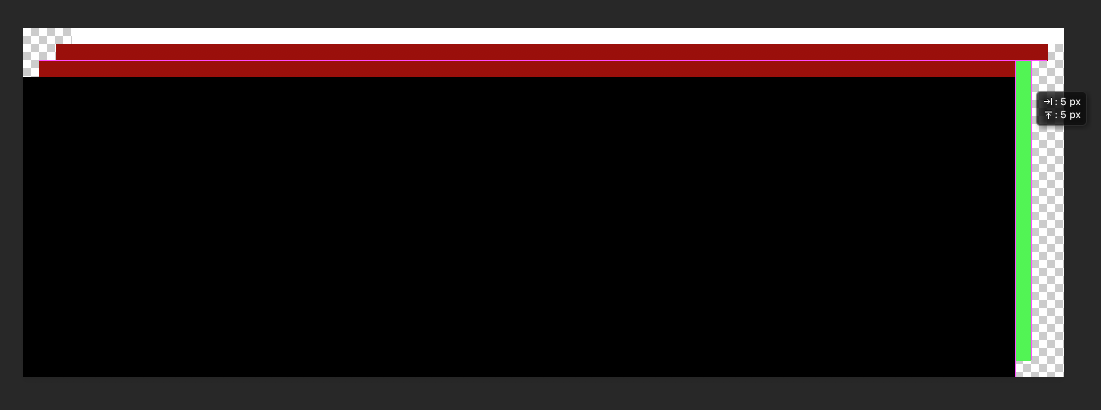
7. Likewise, duplicate the shape and repeat until you reach the right edge of the canvas, then change the outermost rectangle’s fill color to white.
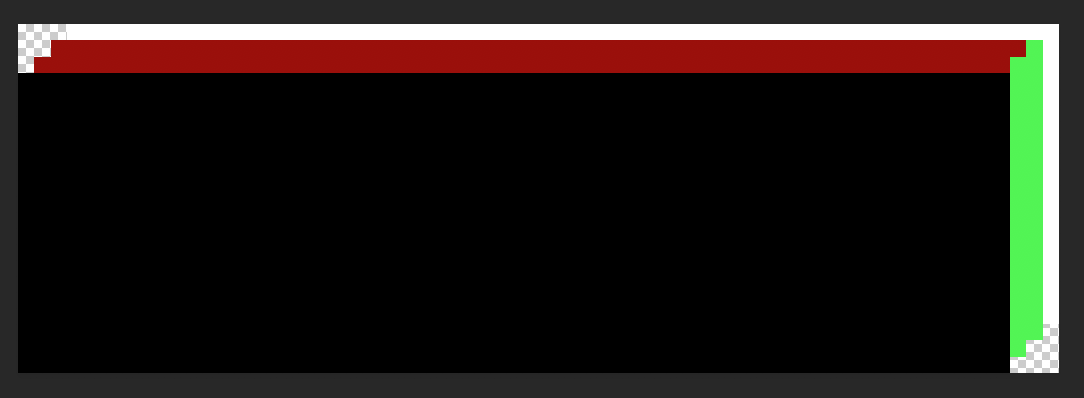
8. Now we need to create the rest of the borders for our panels. Use the Move tool (V) and select the topmost border, hold down the ALT button, drag it the position shown and then release the ALT button.
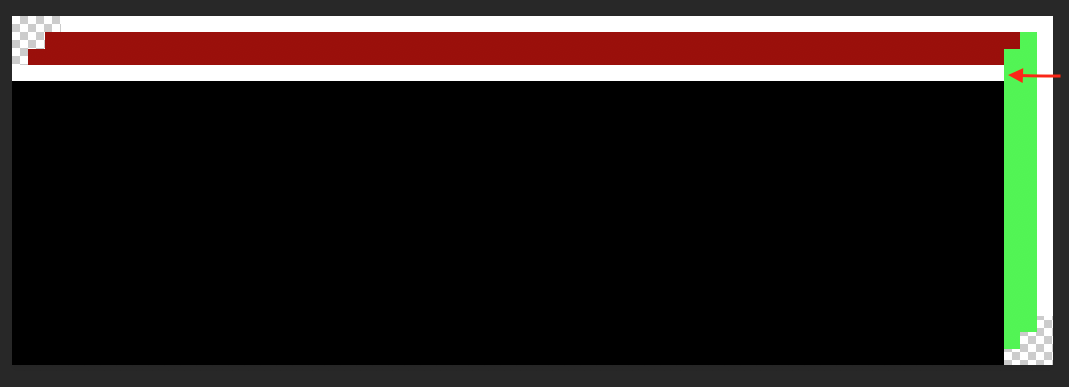
9. Select the newly created white border, hold the ALT button, drag it to the bottom of the canvas as depicted, then release the ALT button.
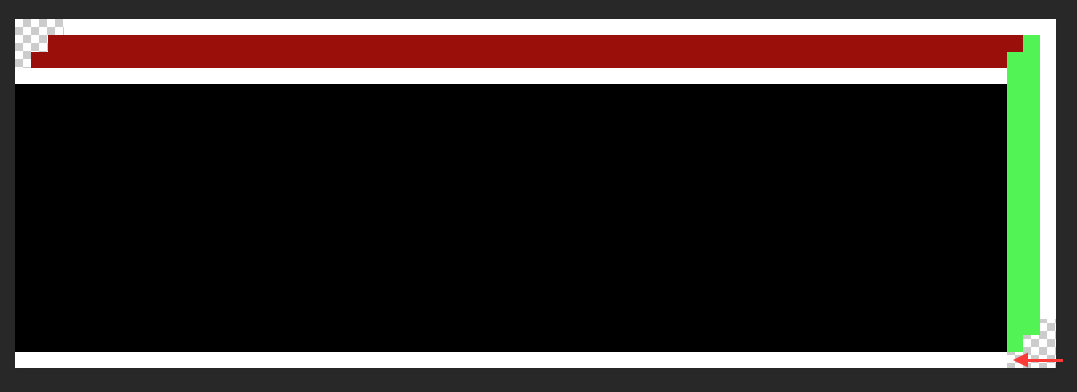
10. Press on V for the Move tool and select the rightmost white border. Hold ALT, drag and release it as shown below.
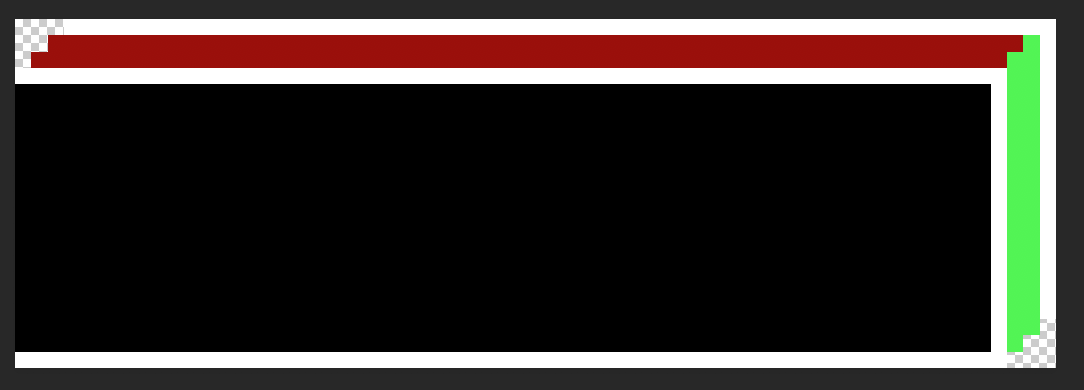
11. Repeat step 10 for the left border.
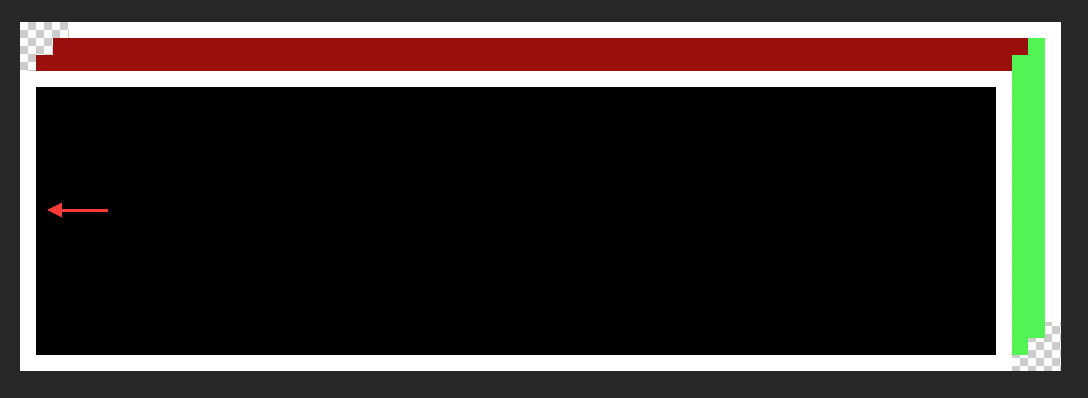
12. To complete the 3-Dimensional design, create 6 little squares sized 5 x 5 pixels, and place them as shown below.
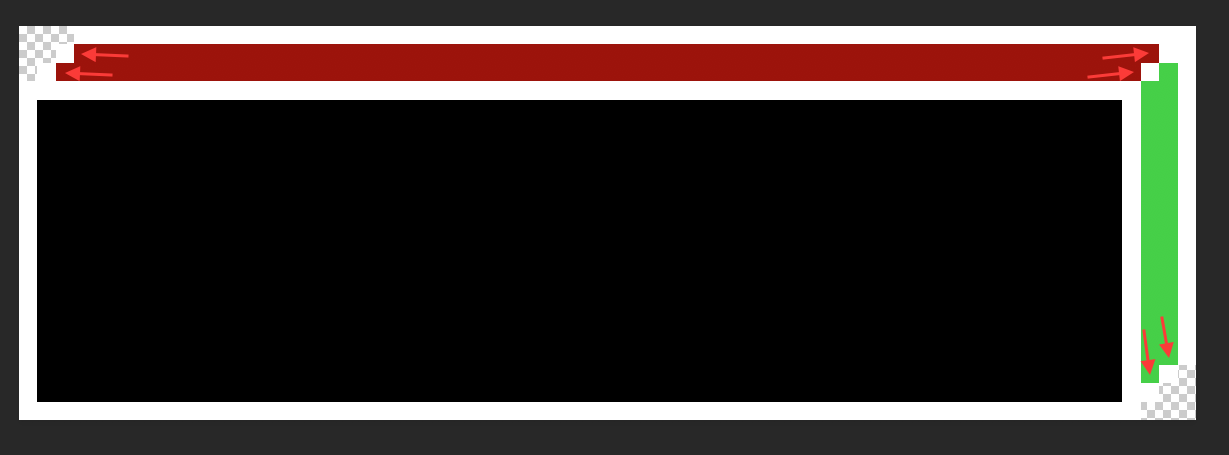
13. Tada! 🎉 Now you have a 3D box/panel. But wait, with all the shapes we have made, we need a better way to change their colors instead of selecting them one by one. So, let’s start with the borders first. With the Move tool selected, hold on Shift+Select all the rectangles and squares that make up the white borders of our panel.
But if you prefer to have it messy, just jump straight to Step 18. 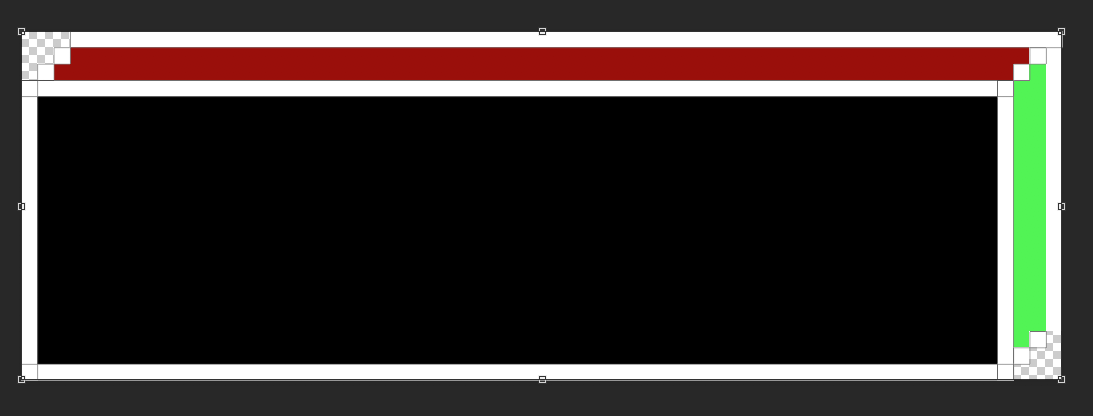
14. Go to the Layers panel or press on keyboard shortcut F7 (fn+F7 on Mac), right click on the selected layers and click on “Merge Shapes”.
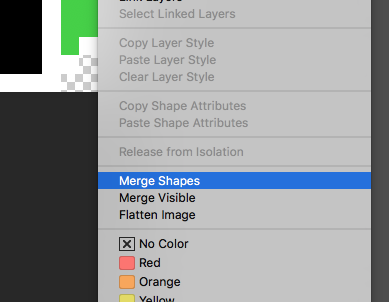
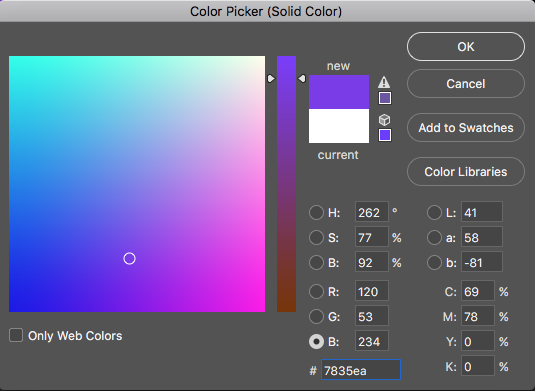
15. Now all the rectangles that made up the borders are combined into a single shape, making it easier to change the colors within a few clicks! To try it out, double-click on the shape layer thumbnail, I used the color #7835ea for this, but you could use any color you like.

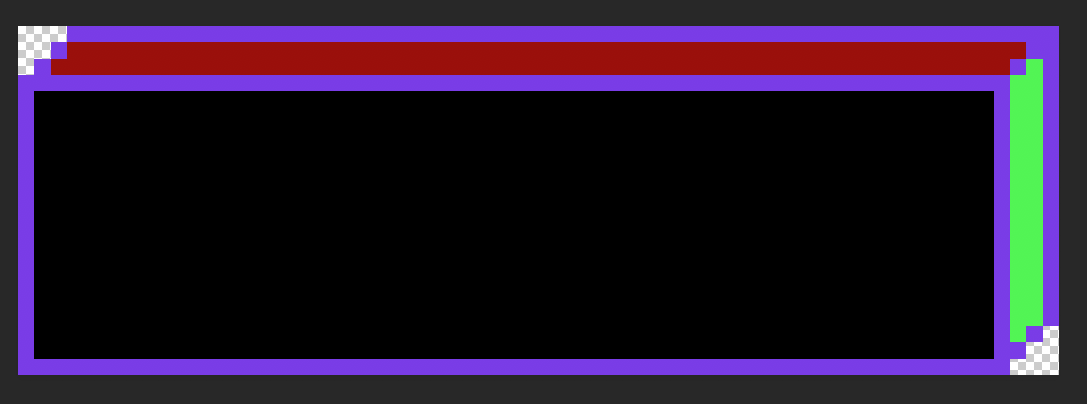
16. Moving along, select the rectangles that make up the top cover, and then right-click at the Layers panel, choose “Merge Shapes”. Work the same magic above, click on the layer’s thumbnail, pick a color (I used black #000), and voila, magic!
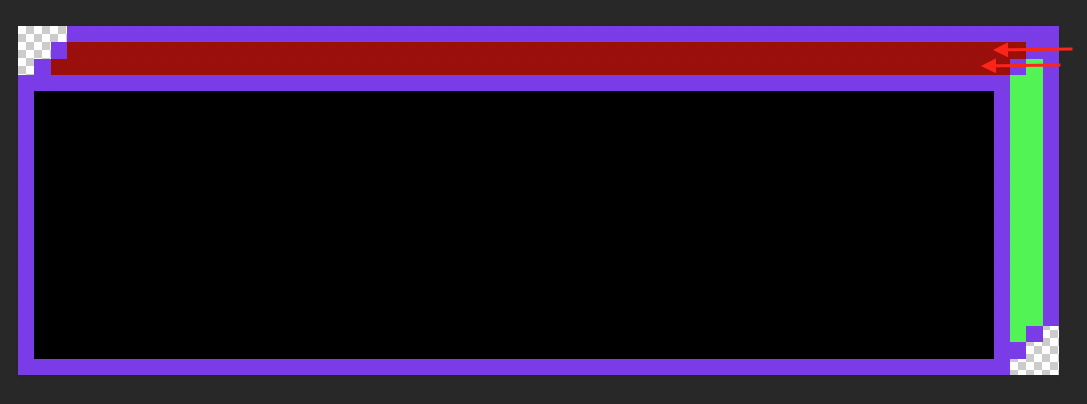
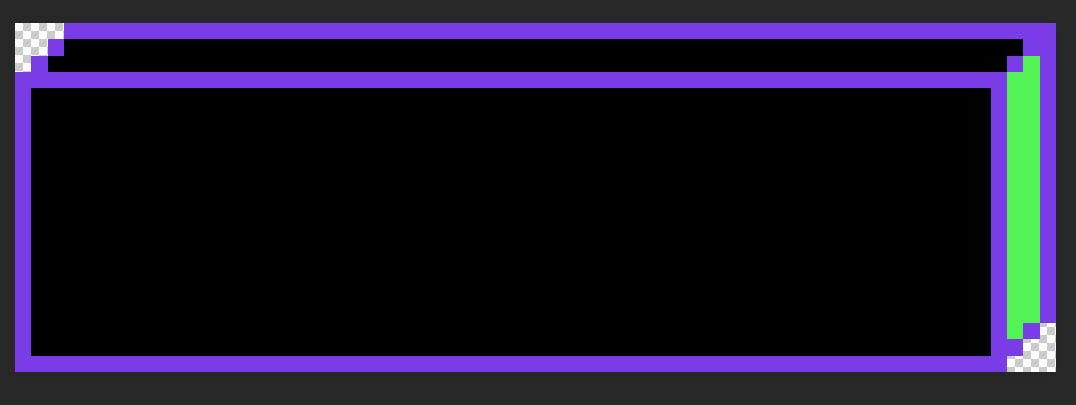
17. Repeat the same action for the side cover. Once you are done, your design should look something like this, with only 4 layers. Clean and neat!

18. Hold your horses, we’re almost there. We still need some text for our panel. The font I used was Determination Sans but you could use anything you please. Select the Type tool (T), set the type size at 36pt, start typing and align it to the center of the front box.
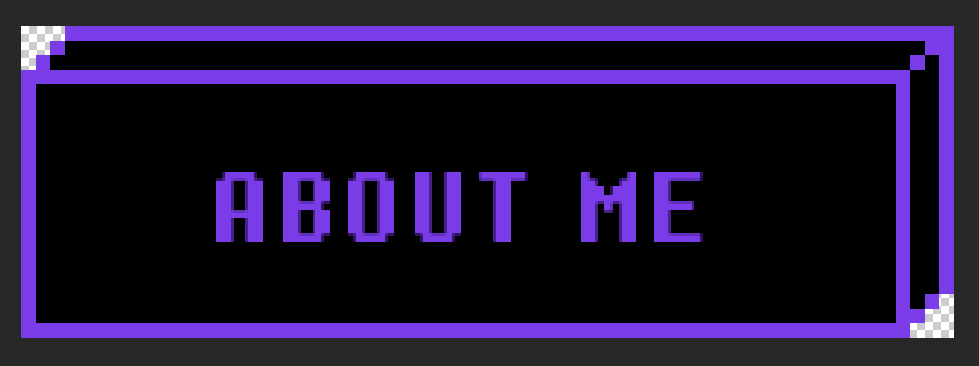
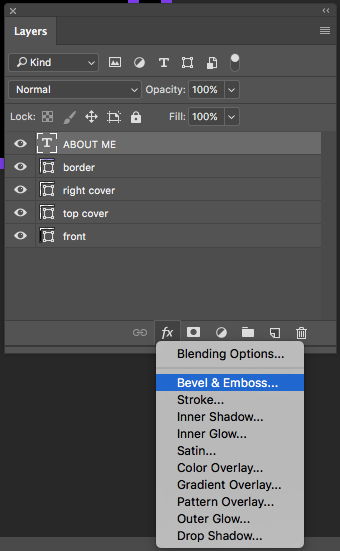
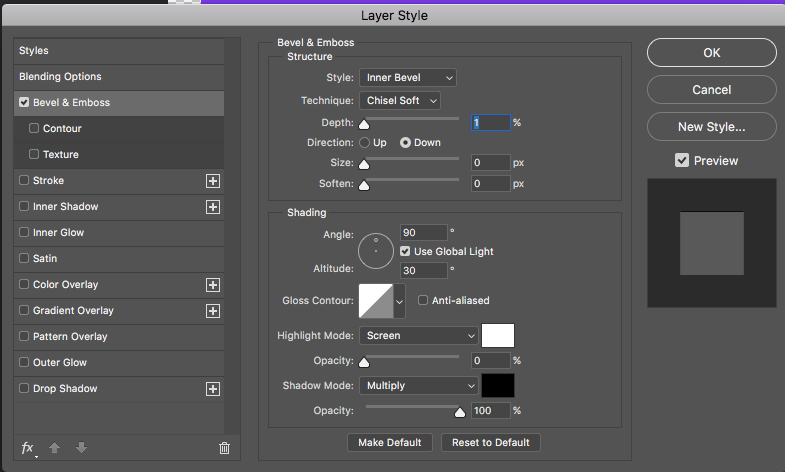
19. This step is totally optional - we found that some bevel and emboss effect would make the title stick out a little. First, you would select the text layer, click on the "fx" button and choose “Bevel & Emboss”. Next, you can either play around with the settings or follow ours below. Click OK to see it in effect.
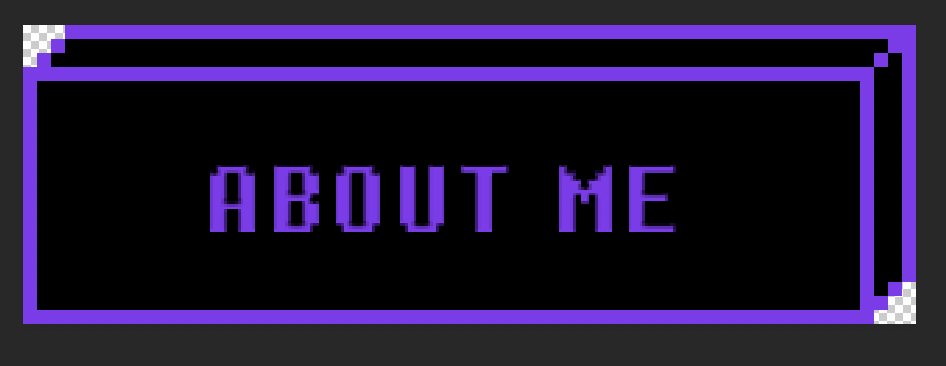
Woohoo! Congratulations for reading until this point. You’re a champ! To export your banners for Twitch, go to File, Export and select Quick Export as PNG.
To make more panel titles, enable the Move tool (V) and hold ALT + drag the type layer. You should have a copy of the title now. Hide the previous type layer and change the text. Easy peasy.
OR free download this completed set of Twitch panels PSD we made just for you. This awesome possum freebie set includes a total of 4 PSD and 72 transparent PNG files, with 4 color variations.
Free Twitch Panels PSD Download
We hope you enjoy this tutorial and the free Twitch panels :D